

Creating eye-catching titles is essential for producing engaging video content, and After Effects offers powerful tools to help you do just that. One of the most impressive techniques is the 3D Title Path animation, which lets your text travel along a dynamic path in 3D space. This effect isn’t just about aesthetics. It adds depth, motion, and energy to your typography, making it ideal for intros, music videos, social media content, and brand promos. Additionally, you don’t need any third-party plugins to achieve this. With just a few built-in tools, you can design professional-looking 3D text sequences from scratch.
Whether you’re an experienced motion designer or a beginner exploring new animation techniques, this tutorial breaks down every step clearly. You’ll also discover cool ways to enhance the design and find premium templates that save you time without sacrificing creativity.
Make 3D Title Path Animations
Creating 3D animations can seem complex, but this method breaks it down into a few simple steps. Once you understand how paths and 3D layers interact, you can create animations that are both modern and impactful.
Design the Base Path for Your Title
Start by creating the structure that your text will follow. You’ll need two separate text layers to begin. The first layer is used purely for shaping the animation path. Set your desired font, size, and layout. This will not be visible in the final render, but it will control how your main title moves.
Create a second layer for your actual title text. Customize it to fit your design. With both layers in place, apply the Auto Trace feature to the first (Shape) layer. Set the tolerance around five and hit OK. Then, hide this shape layer.
Open the mask from the traced layer, copy it, and paste it onto the title layer. In the title’s Path Options, select the newly created Mask 1. Your title should now align itself to the path shape.
Animate Movement with Per-Character 3D
Once the text follows the desired path, it’s time to bring it to life with animation. Start by enabling 3D on the title layer. Use the Animate menu to turn on Per Character 3D and add a Rotation animator. Set the X Rotation to 90 degrees. Then, in the Path Options, adjust the First Margin by adding an expression.
This will cause the text to continuously move along the path, creating a rotating 3D effect that works great for intros and attention-grabbing headlines.
Adjust Perspective and Finalize the Look
If your title disappears after the animation, that’s normal. The characters are tilted in 3D space, so you’ll need to rotate the camera view. Create a Null Layer and make it 3D. Parent your Shape, Title, and Traced layers to this Null. Now, when you adjust the Null’s rotation and position, it will control the entire scene.
This setup makes it easy to adjust angles, zoom, and rotate your composition without manually tweaking each layer. You can even keyframe the Null for more dynamic movement.
Read More: 10 VFX Effects Every Creator Needs
Cool Effects with the 3D Path Technique
Basic 3D animation is just the start. Once you’ve got the structure in place, you can enhance your titles with a few creative tricks that add depth, character, and polish.
Add a Border Using the Stroke Effect
Borders can help your animation pop against busy or colorful backgrounds. Since you’ve already traced the base shape, applying a border is easy.
Turn the traced layer back on, then apply the Stroke effect from the Effects & Presets panel. Change the paint style to On Transparent. This outlines the mask shape with clean, animated strokes that match the path of your 3D text.
It’s a simple enhancement that boosts contrast and draws more attention to the animated movement.
Create 3D Character Highlights and Shadows.
Want your text to look like it’s popping off the screen? Duplicate the title layer and adjust the position slightly to create a layered effect.
Then, change the duplicate’s color to be a bit lighter or darker. This creates the illusion of light and shadow, giving your text a more realistic and polished look without requiring complex lighting setups.
Use Custom Shapes Instead of Text Paths
Here’s where things get more creative. You’re not limited to using text for paths you can use any shape layer, logo, or graphic. Simply apply Auto Trace to any element and follow the same copy-paste steps for the mask path. Your text can now animate around logos, icons, or even hand-drawn shapes, giving you complete creative freedom.
Top 3 Motion Array 3D Title Templates
Not everyone has time to build animations from scratch. If you’re on a deadline or just want a professional look quickly, templates from Motion Array are a perfect solution. These templates are customizable, high-quality, and built for speed. Here are three standout options you should check out:
Grotesk Typography Titles
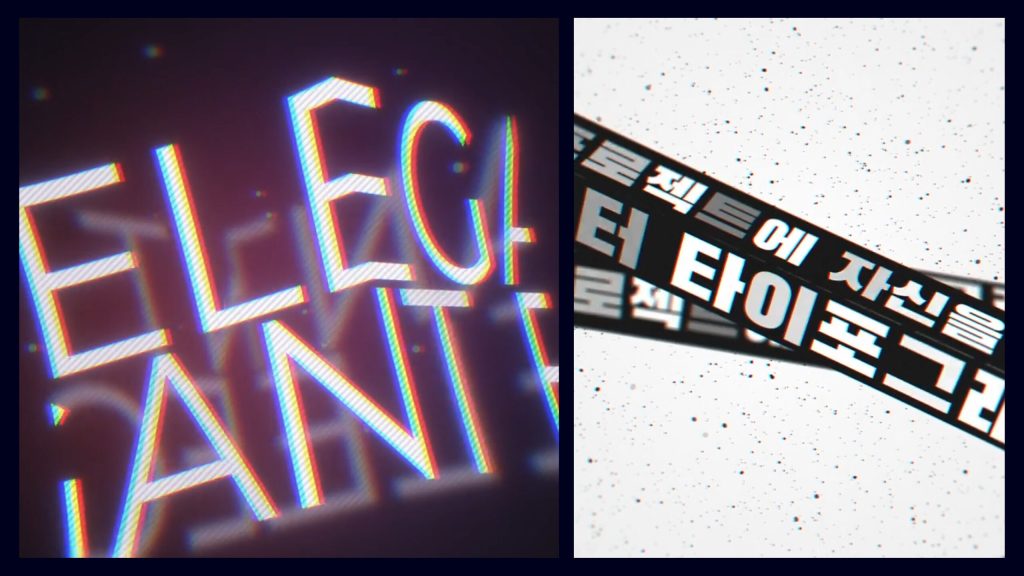
This pack includes five animated full screen titles with bold motion graphics. The animations feature spinning text rings, tubular designs, and warped path styles that evoke a futuristic and fresh aesthetic.
Ideal for:
- Opening title sequences
- Music videos
- Fashion promos
The designs are clean, bold, and animated, creating a high-energy impression.
React Typography Stories
Perfect for Instagram Stories or vertical videos, this pack features psychedelic and abstract animations. You’ll find colorful kaleidoscopes, 3D rings, flower petal designs, and swirling text paths.
The visual flow makes them perfect for digital storytelling, especially when you need something that stands out on a mobile screen.
Crazy Typo
This massive pack contains 20 different title animations. If you like motion-heavy designs with perspective distortion, 3D tunnels, and wild shapes, this one’s for you.
Best for creators who want:
- High-impact transitions
- Bold, surreal title designs
- Dynamic backgrounds for intros
Each title in this pack pushes the boundaries of conventional typography animation.
FAQs
Can I create 3D text in After Effects without plugins?
Yes! This tutorial demonstrates how to utilize native tools, such as mask paths, 3D layers, and null objects, without requiring any plugins.
What version of After Effects do I need for this technique?
Most features used here are available in Adobe After Effects CC and later versions so that any recent version will work.
Is this 3D text effect suitable for beginners?
Absolutely. The guide breaks each step down clearly and avoids complex expressions or setups, making it a beginner-friendly resource.
Can I animate shapes or logos with the same technique?
Yes, you can apply the 3D path animation to any shape layer or auto-traced logo using the same mask path workflow.
Are Motion Array templates customizable?
Definitely! All templates mentioned are fully editable. You can change text, colors, animations, and more to suit your project.
Conclusion
Mastering 3D Path title animation in After Effects unlocks endless creative possibilities. From wrapping your text around shapes to customizing with borders and shadows, this technique enhances your design without requiring additional plugins. Whether you start from scratch or use a Motion Array template, your typography will instantly stand out. With just a few steps, you can transform basic titles into bold animations that captivate viewers and elevate your visual storytelling. Start experimenting today and take your motion graphics to the next level.